No, not every sink is automatically ready for a garbage disposal, but most kitchen sinks can accommodate one with the proper plumbing, mounting hardware, and electrical connections. The sink material, drain opening size, cabinet space, and existing plumbing all determine whether a garbage disposal can be installed safely.
Most modern kitchens can accommodate a garbage disposal without much trouble, but some setups need a few modifications first.
 Quick Takeaways
- Most kitchen sinks can support a garbage disposal.
- Sink material alone usually isn’t the deciding factor.
- Drain opening size, cabinet clearance, plumbing, and electrical access all matter.
- Some sink styles require special mounting hardware or accessories.
- A professional inspection can confirm compatibility before installation.
What Determines Whether a Sink Can Support a Garbage Disposal?
Four parts of your kitchen setup have to work together for a successful garbage disposal installation.
Drain opening size: Most sinks have a standard opening that fits common mounting systems, but custom or specialty sinks sometimes need a different flange.
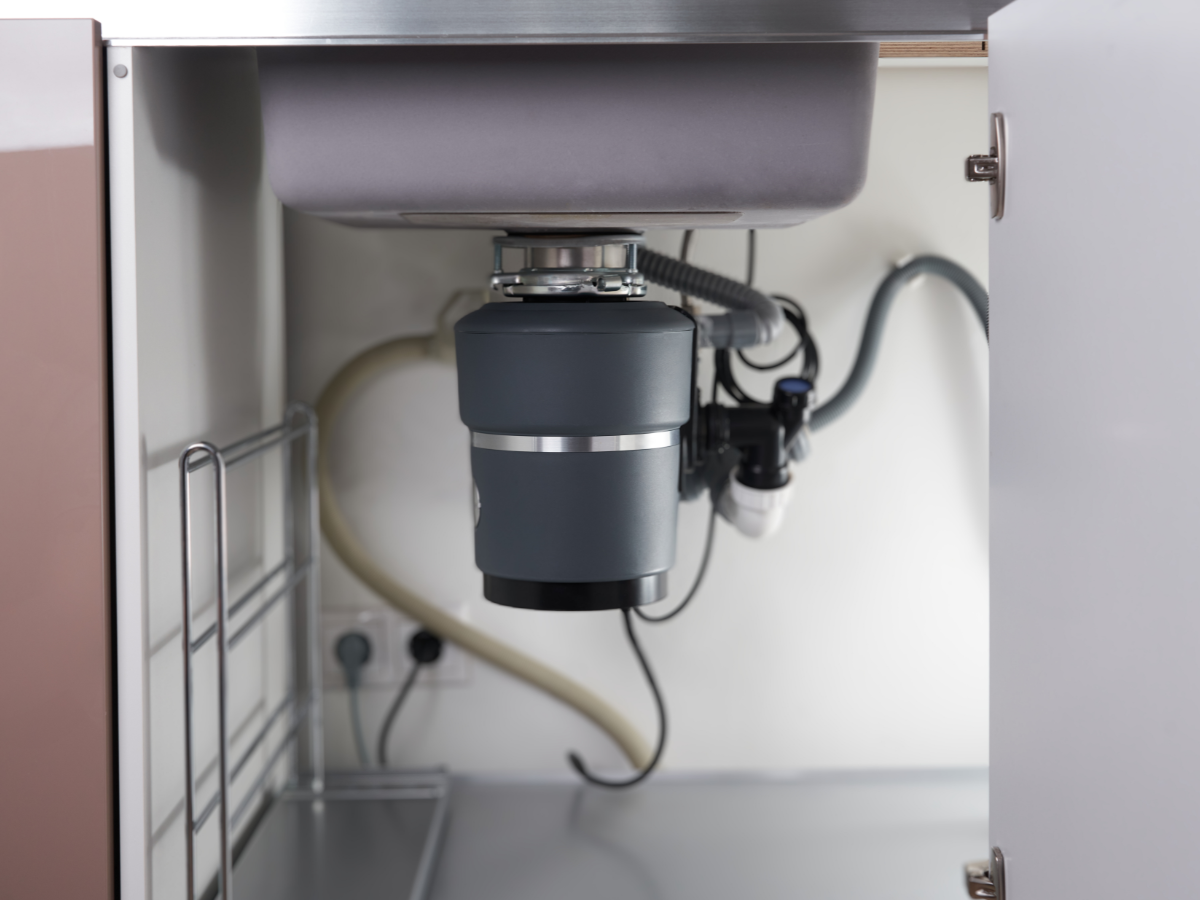
Cabinet space: A disposal hangs below the basin, so there needs to be enough clearance. That space is often already crowded by pipes and filters.
Plumbing configuration: The disposal’s discharge has to line up with your existing drain. If it doesn’t, the P-trap or connecting pipes will need to be repositioned.
Electrical access: A disposal needs a power connection and a way to control it, whether that’s a switched outlet or another code-compliant method.
As you can see, the whole setup needs to be evaluated together, not just the sink.
Which Types of Sinks Can Have a Garbage Disposal?
Stainless Steel Sinks
Stainless steel is the most common pairing, since most standard sinks have compatible drain openings that work with the included mounting assembly. The sink should still be securely installed, with cabinet space checked beforehand.
Composite Granite Sinks
Composite granite sinks can generally accommodate a disposal, too. However, the material thickness around the drain and the compatibility of the mounting flange should be checked against both manufacturers’ specifications.
Cast Iron Sinks
Cast iron sinks can take a disposal as long as the drain opening and mounting components match up. Since cast iron is already heavy, older installations need to be checked for stability.
Farmhouse (Apron-Front) Sinks
Farmhouse sinks can often accommodate a disposal, but the basin’s depth is the main challenge. Most use a standard 3.5-inch drain opening, but thicker sinks, including some fireclay models, often need an extended flange. A deep basin can lower the disposal discharge point and create alignment issues with the existing drain.
Undermount and Top-Mount Sinks
Undermount and top-mount sinks can both accommodate garbage disposals with proper installation. The main consideration is that undermount sinks need solid support because they’re secured beneath the countertop.
When Might a Garbage Disposal Not Fit?
Even when the sink itself is compatible, the surrounding setup can create fit problems. Filtration equipment, storage systems, and deep basins can reduce available cabinet clearance, while existing pipes may occupy the space needed for the disposal.
Other obstacles include worn or incompatible drain assemblies, insufficient electrical access, and compact cabinets that limit disposal options.
Do You Need to Modify Your Plumbing or Electrical System?
 Not always. When a plumber replaces an existing garbage disposal with a similar model, they can often reuse the current drain and power setup. First-time installations tend to need more work.
Since garbage disposal models range in size, drain pipes sometimes need repositioning, even for a seemingly straightforward swap. If a dishwasher is part of the kitchen, its drain hose usually connects to a dedicated inlet on the disposal, but it needs to be installed to spec.
The need for electrical modifications depends on what is already in place. A first-time installation may require a new electrical outlet, a wall switch, or another approved control method. The electrical setup should meet the manufacturer’s instructions and local code requirements.
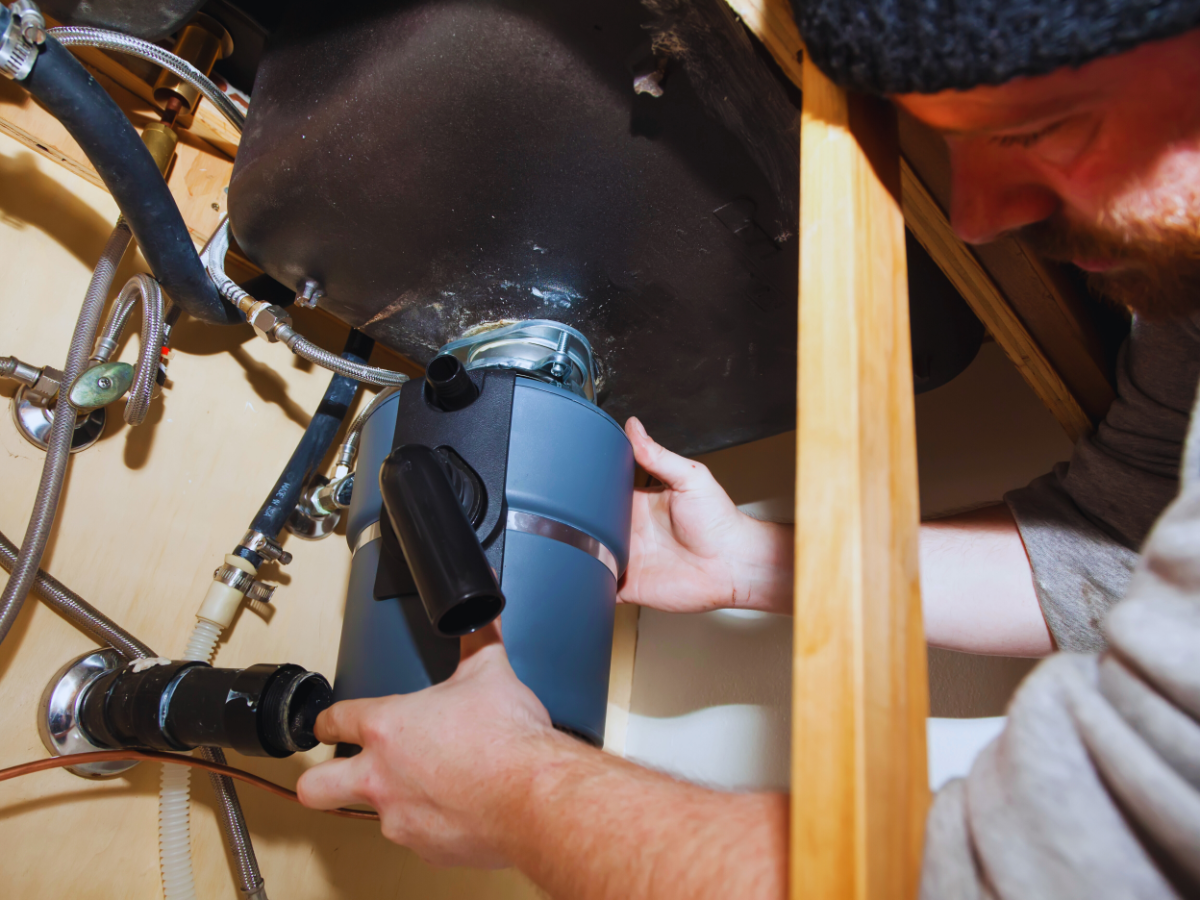
Can You Install a Garbage Disposal Yourself?
If you have plumbing and electrical experience, replacing an existing disposal can sometimes be doable on your own. However, a first-time installation is a bigger job that can involve moving drain pipes, adding a new dishwasher connection, or arranging electrical service. Bad plumbing connections can leak into the cabinet, and bad wiring is a safety hazard.
Professional installation is worth considering when the sink has never had a disposal, the new unit differs significantly in size from the previous one, the plumbing needs to be rearranged, the unit requires a specialized flange, or you are unsure how to meet the manufacturer’s installation requirements.
Choosing the Right Garbage Disposal for Your Sink
The biggest or most powerful disposal isn’t automatically the right one. Higher horsepower usually means a larger unit. A household’s size and cooking habits are better guides to selecting a unit than horsepower alone.
Continuous-feed models run while activated, letting you add waste as you go, while batch-feed units only run once a stopper or cover is in place. Noise level matters more if your kitchen opens into a living space. Physical dimensions can still vary between models that fit the same drain, so measure the space under your sink before you make a final selection.
Frequently Asked Questions
Can a farmhouse sink have a garbage disposal?
Yes, in most cases. The drain opening, sink thickness, cabinet space, and drain position are the main factors that affect whether the disposal will fit.
Do all kitchen sinks have the same drain opening?
No. While most sinks have the standard drain size of 3.5 inches in diameter, custom, specialty, or unusually thick sinks differ and often need different mounting hardware.
Can I install a garbage disposal where there wasn’t one before?
In most kitchens, yes. A plumber can evaluate your drain opening, clearance, and plumbing to determine compatibility.
Do I need new plumbing to add a garbage disposal?
Not necessarily. Some drain setups adapt easily, while others need the trap or piping repositioned.
Find the Right Garbage Disposal for Your Kitchen
![]() A garbage disposal can work with nearly any sink type as long as the whole installation, not just the sink, is compatible. At Benjamin Franklin Plumbing, we can evaluate your sink and under-cabinet setup, make any necessary plumbing modifications, and complete your garbage disposal installation correctly. If you are adding your first disposal or replacing a unit with a different model, our punctual plumbers are here to get the job done.
A garbage disposal can work with nearly any sink type as long as the whole installation, not just the sink, is compatible. At Benjamin Franklin Plumbing, we can evaluate your sink and under-cabinet setup, make any necessary plumbing modifications, and complete your garbage disposal installation correctly. If you are adding your first disposal or replacing a unit with a different model, our punctual plumbers are here to get the job done.
We serve homeowners throughout the Gainesville area. When you need help evaluating or installing a garbage disposal, turn to The Punctual Plumber® for professional and dependable service.
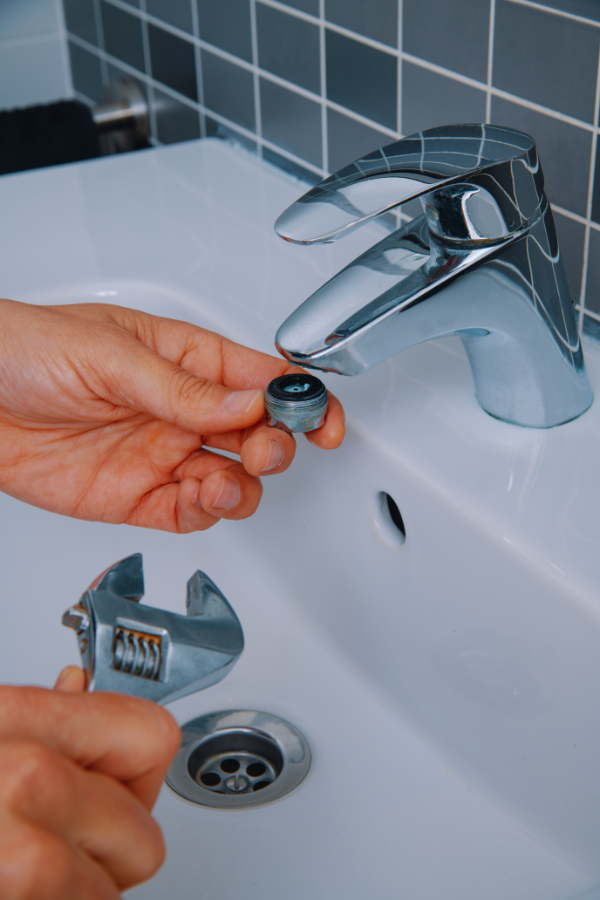
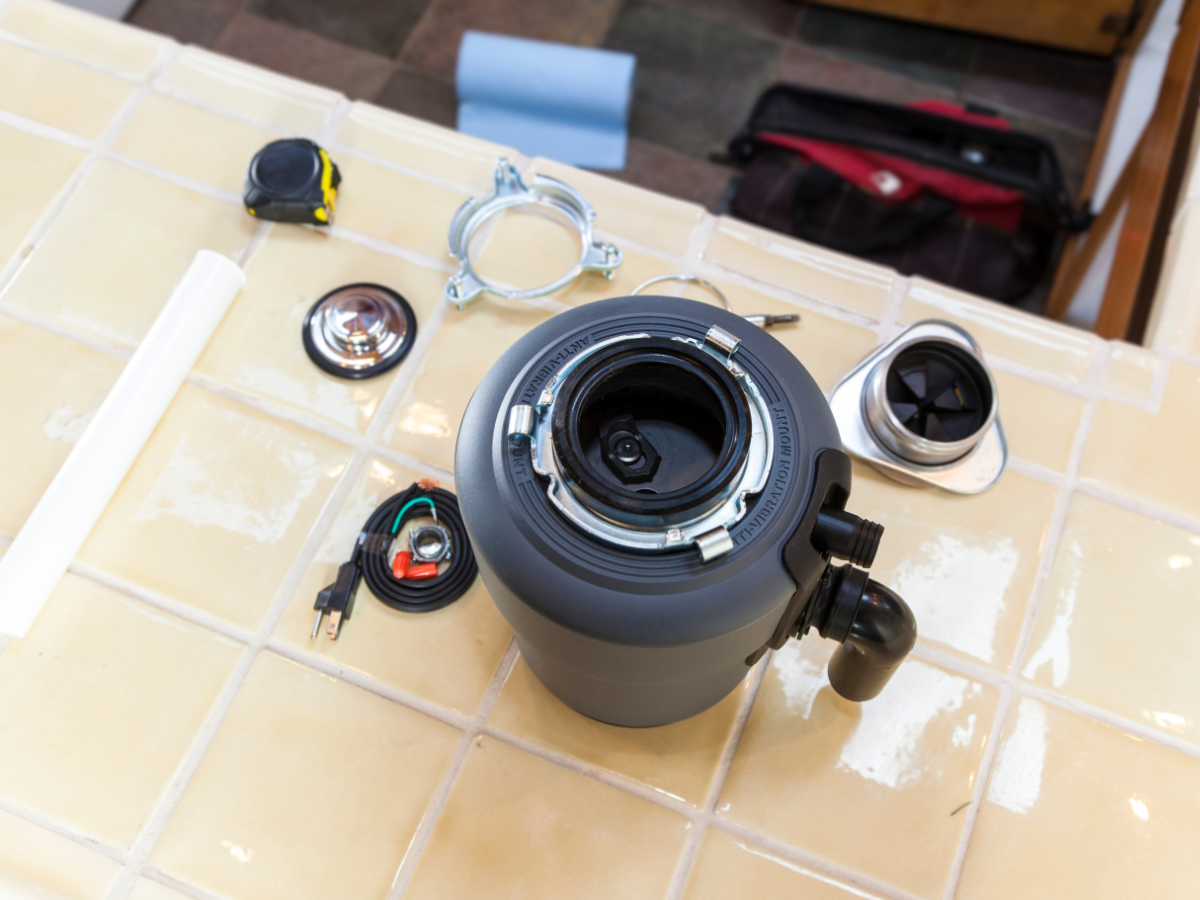 If you are doing a simple replacement, then you might be able to do this project yourself. However, you’ll need to make sure that you have the right tools and are prepared to follow the manufacturer’s directions very carefully.
 Quick Takeaways
 Ignoring a problem with your pressure reducing valve can lead to more significant issues than just the annoyance of water pressure that is fluctuating or too high.
 High water pressure is defined as pressure that exceeds 80 PSI. Typically, the appropriate range is between 40 and 60 PSI. Continually high water pressure weakens your plumbing system, and seals and pipes become damaged.
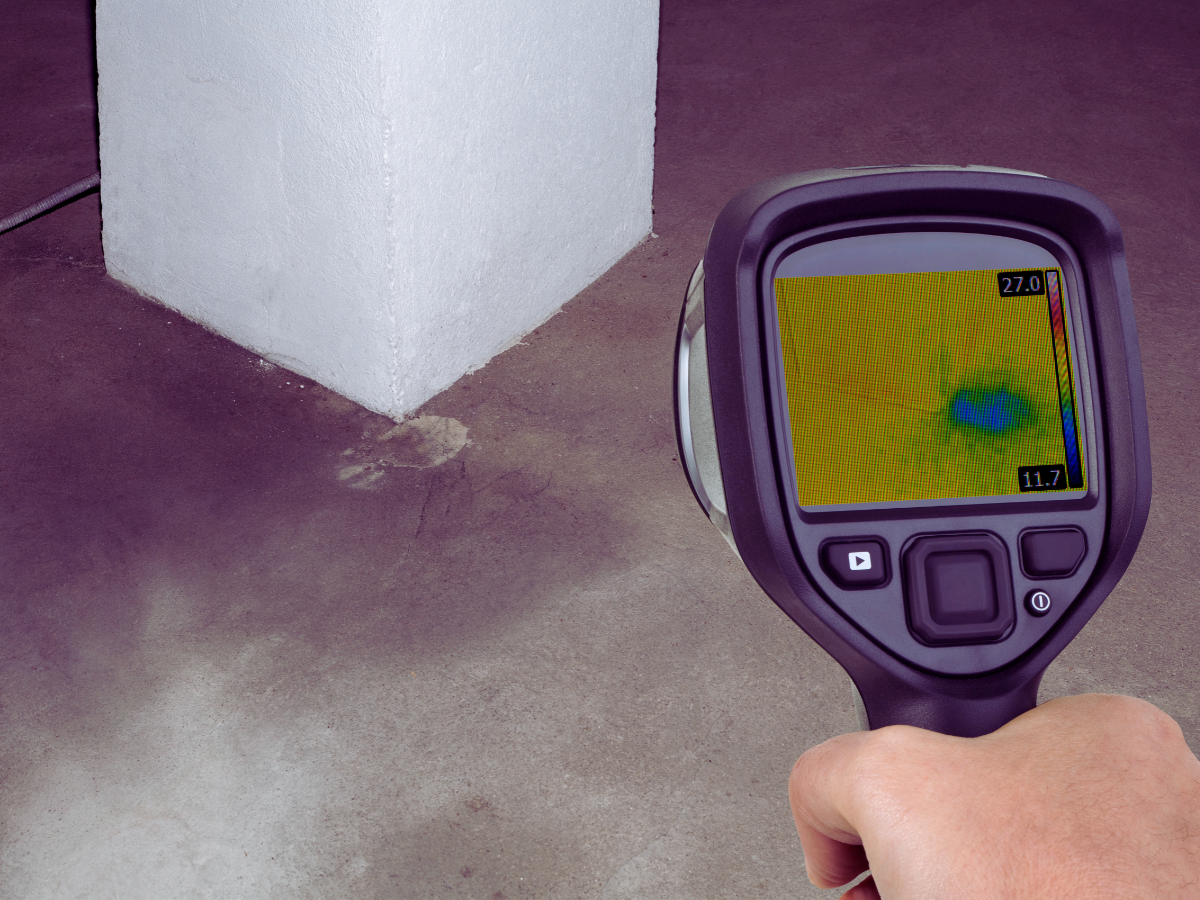 Modern methods of leak detection use non-invasive tools to locate hidden water leaks.
 Yes, using any of the above methods, and there are others, enables a plumber to accurately and non-invasively determine the location of leaks inside a floor, wall or ceiling.
 Most homeowners picture plumbing leaks as gushing pipes and inundated basements. Most leaks are actually much less dramatic, and a lot harder to find. They usually start in hidden areas behind walls, under floors or around appliances, quietly causing damage long before anyone notices.
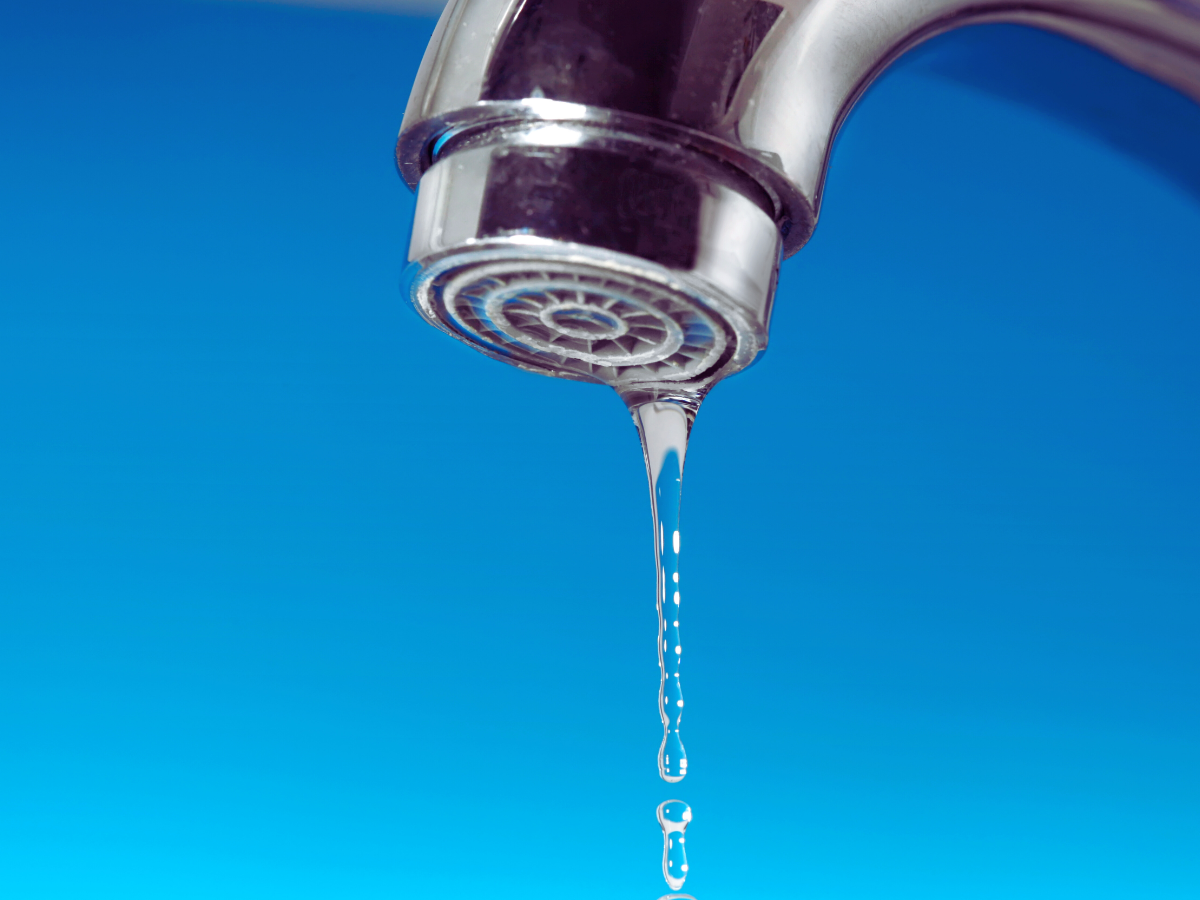
 There are a few ways you can potentially tell why your faucet is dripping.
 After accurately diagnosing your plumbing issue, a licensed professional could repair the problem effectively, keeping the costs — and the household disruption — to a minimum.
 Unexplained
  Plumbers have a number of tools and techniques they can use to diagnose what’s causing your low water pressure. They might start with valve inspections to make sure they are open and working correctly.